So you want to start digital art but don’t know where to begin? You’re not alone. Every digital artist, from hobbyists to professionals earning six figures, started exactly where you are now: staring at a blank screen, unsure of the first step.
The good news? Starting digital art is easier and more affordable than ever. You just need curiosity, a device, and this guide to show you exactly how to start digital art the right way.
This beginner-friendly guide walks you through everything: what equipment you actually need, which free apps to download first, essential techniques to learn, and how to avoid frustrating mistakes that slow down beginners. By the end, you’ll have a clear roadmap to creating your first digital artwork, today.

What You Actually Need to Start Digital Art
The internet makes digital art seem complicated and expensive. It’s not. Here’s what you truly need versus what’s nice to have.
The Absolute Essentials
A Device (Pick One):
- iPad or tablet – Most popular choice, natural drawing experience
- Computer/laptop – Desktop power, larger workspace
- Android tablet – Budget-friendly, plenty of app options
- Even your phone – Seriously, you can start here
A Drawing Tool:
- Stylus/digital pen – Apple Pencil, Samsung S-Pen, or budget alternatives
- Your finger – Not ideal long-term, but fine for learning basics
- Drawing tablet – For desktop users (Wacom, Huion, XP-Pen)
Free Software:
- Krita (desktop)
- Autodesk Sketchbook (any device)
- MediBang Paint (any device)
- ibis Paint X (mobile)
That’s it. You can literally start digital art today with just a phone and free app.
For comprehensive comparisons of free software options, check out our guide to the best free digital art apps covering every device and skill level.
Nice to Have (But Not Essential)
- Screen protector with paper-like texture
- Stand or adjustable arm for your device
- Second monitor (for desktop artists)
- Paid software (Procreate, Clip Studio Paint)
- Professional drawing tablet
The Truth: Professional artists create gallery-worthy work with basic equipment. Your skill matters infinitely more than your gear.
Step-by-Step: How to Start Digital Art Today
Let’s break down exactly how to go from complete beginner to creating your first digital artwork.
Step 1: Choose Your Device and Download an App
If you have an iPad:
Download Autodesk Sketchbook (free) or invest $12.99 in Procreate. Both are beginner-friendly.
If you have an Android tablet:
Download ibis Paint X (free) or MediBang Paint (free). Both offer tons of features.
If you have a computer:
Download Krita (free, powerful) or FireAlpaca (free, simple). Both work on Windows and Mac.
If you only have a phone:
Download ibis Paint X. It’s surprisingly capable on small screens.
Don’t overthink this choice. Just pick one and start. If you want a deeper dive before deciding? Check out our complete best free digital art apps guide for: Detailed app reviews with pros and cons, and platform-specific recommendations (iPad, Android, desktop).
Step 2: Complete the App Tutorial
Most apps include quick tutorials teaching basic navigation. Spend 10 minutes learning:
- Where tools are located
- How to create new canvases
- How to use layers
- How to undo/redo
- How to save your work
This small time investment prevents massive frustration later.
Step 3: Set Up Your First Canvas
Create a new canvas with these beginner-friendly settings:
- Size: 2000 × 2000 pixels (square)
- Resolution: 300 DPI (if planning to print)
- Background: White
Don’t worry about perfect settings yet. You’re learning, not creating a masterpiece.
Step 4: Explore Basic Tools
Before drawing anything complex, familiarize yourself with essential tools:
Brush Tool – Your main drawing instrument
Eraser – Removes marks (works like a brush)
Layers – Separate elements of your drawing
Color Picker – Choose colors
Transform/Move – Adjust size and position
Undo/Redo – Your best friends
Play with each tool. Make random marks. Get comfortable with the interface.
Step 5: Draw Simple Shapes
Your first goal isn’t creating a masterpiece, it’s building hand-eye coordination for digital drawing.
Practice drawing:
- Circles (without using shape tools)
- Straight lines
- Curves and spirals
- Squares and triangles
- Your name in cursive
This feels basic, but it’s essential. Digital drawing feels different from paper, and these exercises build muscle memory.
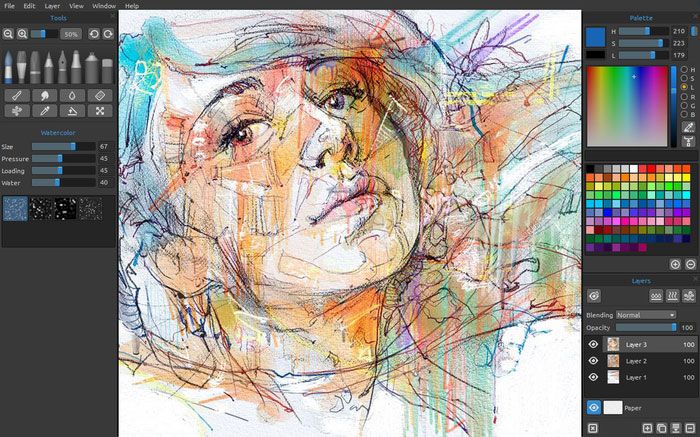
Step 6: Learn to Use Layers Properly
Layers are digital art’s superpower. Think of them like transparent sheets stacked on top of each other.
Basic Layer Workflow:
- Layer 1 (bottom): Background color or texture
- Layer 2: Rough sketch
- Layer 3: Clean line art
- Layer 4: Base colors
- Layer 5+: Shading and details
Keeping elements separated makes editing infinitely easier. Change colors without redrawing lines. Adjust shading without affecting anything else.
Pro Tip: Name your layers! “Sketch,” “Lines,” “Color,” “Shading” beats trying to remember which “Layer 7” contains what.
Step 7: Create Your First Simple Drawing
Choose something achievable:
- A fruit (apple, orange, banana)
- A coffee mug
- A simple character face
- Your pet (simplified)
- A plant

Simple Process:
- Sketch rough shapes on one layer (messy is fine!)
- Create a new layer and draw cleaner lines over your sketch
- Hide or delete the sketch layer
- Add a new layer below line art for colors
- Color inside the lines (easier on separate layers!)
- Add a final layer for simple shading
Don’t aim for perfection. Aim for completion. Finishing a drawing, even a simple one, builds confidence.
Once you’re comfortable with basics, our comprehensive guide on how to make digital art dives deeper into advanced techniques like shading, composition, and color theory.
Essential Digital Art Techniques Every Beginner Should Learn
These fundamental techniques appear in every type of digital art. Master these and you’ll progress much faster.
Using Stabilization for Smooth Lines
Most apps include stabilization (also called smoothing). This feature smooths out shaky hand movements, creating cleaner lines.
Settings:
- Low stabilization (0-20%): Natural, sketchy lines
- Medium stabilization (30-50%): Balanced, slight smoothing
- High stabilization (60-100%): Very smooth, controlled lines
Experiment to find what feels right. Higher isn’t always better, it can make drawing feel delayed or unnatural.
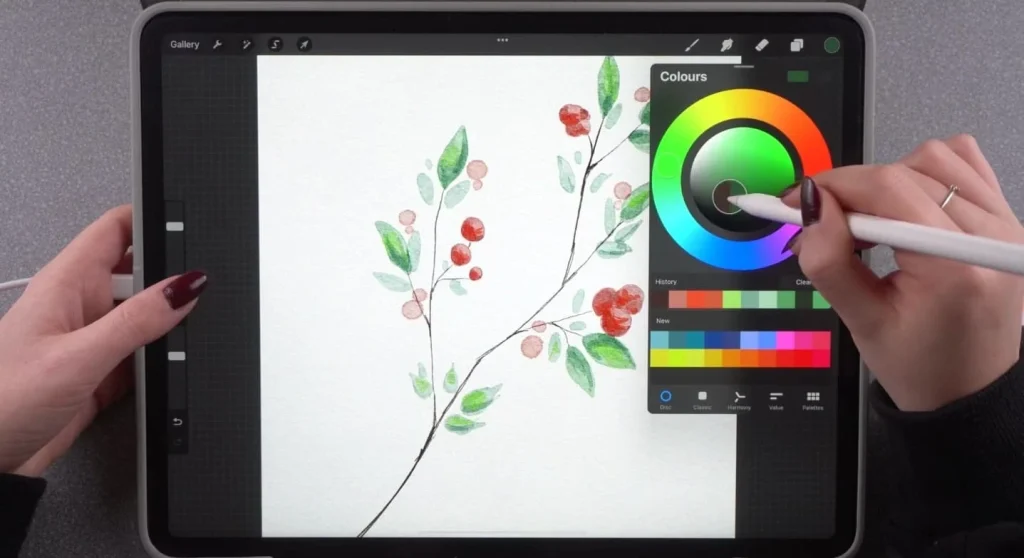
Basic Color Theory

You don’t need art school to understand color basics:
Primary Colors: Red, blue, yellow, can’t be mixed from other colors
Secondary Colors: Orange, green, purple, mix two primaries
Complementary Colors: Opposite on color wheel (red/green, blue/orange), create contrast
Beginner Color Tips:
- Limit yourself to 3-5 colors per piece
- Use one dominant color, others as accents
- Complementary colors make each other “pop”
- Desaturate (add gray) for more sophisticated palettes
Building a Sustainable Practice Routine

Consistency beats intensity. Drawing 20 minutes daily produces better results than one 5-hour session monthly.
The 15-Minute Daily Challenge
Commit to just 15 minutes of digital art every single day for 30 days.
Daily Prompts to Keep It Fresh:
- Day 1-7: Basic shapes and objects (fruit, cups, tools)
- Day 8-14: Simple characters (faces, stick figures with personality)
- Day 15-21: Nature elements (leaves, flowers, clouds)
- Day 22-28: Favorite things (pets, hobbies, food)
- Day 29-30: Combine everything into one scene
Why This Works:
Short sessions prevent burnout. Daily practice builds habits. Variety prevents boredom. After 30 days, you’ll see dramatic improvement.
Want to see what’s possible with these apps? Browse our shop for artist-designed stickers
Frequently Asked Questions About Starting Digital Art
Is digital art easier than traditional art?
Different, not necessarily easier. Digital art offers undo buttons and easy color changes, but requires learning software and adapting to screen-based creation. Both require practice and understanding of fundamentals like composition, color, and form.
Can I learn digital art without knowing how to draw traditionally?
Absolutely. Many successful digital artists never drew on paper. Digital art teaches the same fundamentals, observation, hand-eye coordination, understanding form. The medium is different, but core skills are similar.
How long does it take to get good at digital art?
With consistent daily practice (30-60 minutes), most beginners see noticeable improvement in 2-3 months and feel comfortable with basics in 6 months. “Good” is subjective, focus on consistent improvement rather than arbitrary timelines.
Do I need expensive equipment to start digital art?
No. Free apps on devices you already own work perfectly for learning. Many professionals started with basic equipment. Upgrade as your skills and commitment grow, not before.
Final Thoughts
You now know exactly how to start digital art. You understand what equipment you need (less than you thought), which apps to download (free options work great), and what techniques to learn first (basics before complexity).
Ready to begin your digital art journey?
If you have questions about how to start digital art, need advice on choosing equipment, or want to share your beginner journey, reach out through our contact page or tag us on Instagram and Facebook. We’d love to support you as you begin creating.
Your digital art story starts with one drawing. Make it today.