You’ve spent hours creating the perfect digital artwork on your iPad or computer. Now you want to see it come to life as a physical print, poster, or sticker. However, you might be wondering: how do you actually print digital art without losing quality, experiencing weird colors, or ending up with blurry results?
Fortunately, this guide walks you through everything you need to know about how to print digital art successfully. Whether you’re printing at home, using a professional service, or creating products to sell, you’ll learn the exact steps to get beautiful, crisp prints every single time.

The Foundation of Quality Prints
Resolution determines whether your print looks crisp or pixelated. Consequently, this is the most critical concept to understand when learning how to print digital art.
What is DPI?
DPI (dots per inch) measures how many pixels fit into one inch of printed space. Simply put, more dots equal a sharper image.
Standard Print Resolutions:
- 72 DPI – Screen resolution (websites, social media) – DO NOT print at this resolution
- 150 DPI – Minimum for acceptable prints (not recommended)
- 300 DPI – Professional standard for most prints
- 600 DPI – High-end art prints and professional photography
The Golden Rule: Always create digital art at 300 DPI if you plan to print it.
Creating artwork at the right resolution starts with choosing the right software.
Knowing which features to look for can help you avoid frustration later. Check out our complete comparison of the best free digital art apps to find the software that best fits your printing needs, most of these apps support high-resolution canvases that are perfect for printing.
Calculating Print Size From Your Canvas
Here’s the simple math to know if your artwork will print well:
Formula: Canvas width in pixels ÷ 300 = Maximum print width in inches
Examples:
- 3000 × 3000 pixels = 10″ × 10″ print at 300 DPI
- 2400 × 3600 pixels = 8″ × 12″ print at 300 DPI
- 6000 × 4000 pixels = 20″ × 13.3″ print at 300 DPI
Pro Tip: Always create artwork larger than you need.
You can scale down without quality loss, but scaling up makes images blurry. If you’re just starting with digital creation, understanding proper canvas setup from the beginning saves headaches later. Our guide on how to make digital art covers essential technical setup alongside creative techniques.
File Formats for Printing Digital Art
Choosing the correct file format affects print quality, color accuracy, and file compatibility.
Best File Formats for Printing
| Format | Best For | Pros | Cons | Notes |
|---|---|---|---|---|
| PNG | Stickers, graphics, illustrations | • Lossless compression (no quality loss) • Supports transparency • Works perfectly for clean graphics | • Creates larger file sizes | Recommended for most uses |
| TIFF | Professional/commercial printing | • Highest quality with no compression • Industry standard for commercial work • Supports CMYK color mode | • Very large file sizes | Best for professional printing |
| JPEG | Photographs only | • Produces smaller file sizes • Works well for photographic images | • Lossy compression (reduces quality) • NOT ideal for illustrations with sharp lines | Use sparingly |
| PSD | Working files with layers | • Preserves all layers intact • Allows future edits whenever needed | • Results in large file sizes | Convert to PNG or TIFF before printing |
| Print services, multi-page documents | • Universal compatibility • Embeds fonts and maintains quality • Good for multi-page files | • Can be large depending on content | Great for print services |
Never Use: GIF, BMP, or low-quality JPEG for printing
Not all digital art apps export in every format. Consequently, when choosing your creative software, make sure it supports the file types you need for printing.
Our guide to the best free digital art apps includes file export capabilities for each app. As a result, this helps you choose software that matches your printing goals.
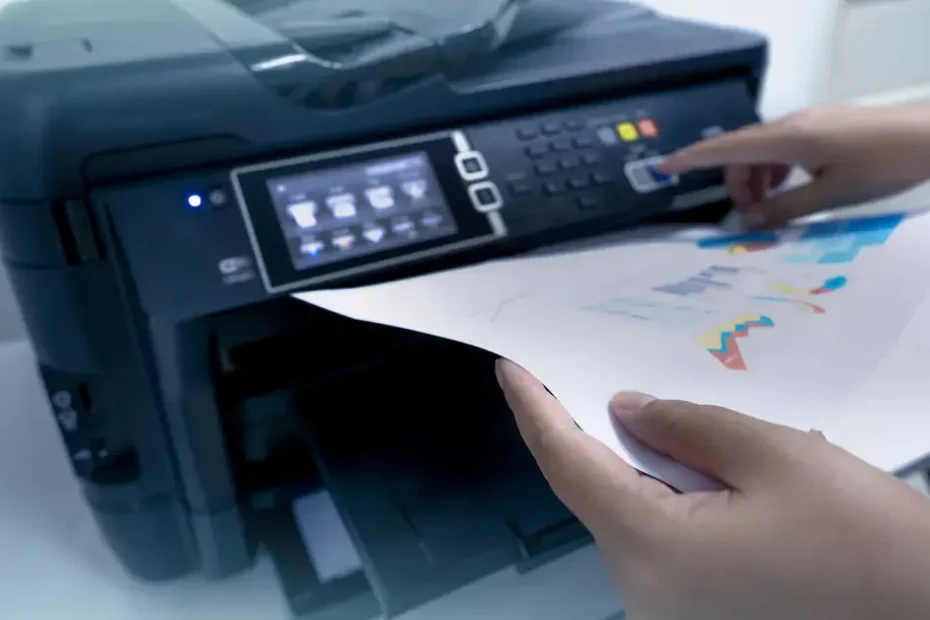
How to Print Digital Art at Home

Printing at home gives you immediate results and control over the process. Here’s how to do it right.
Equipment You’ll Need
Printer Options:
Inkjet printers work best for art prints because they offer better color range and handle various paper types. Laser printers, on the other hand, provide sharp text and graphics with faster speeds.
Recommended Models:
- Epson EcoTank (budget-friendly)
- Canon PIXMA Pro (mid-range quality)
- Epson SureColor (professional grade)
Paper Selection:
The paper you choose dramatically affects your final print quality. Matte photo paper provides a soft finish with no glare, making it ideal for illustrations.
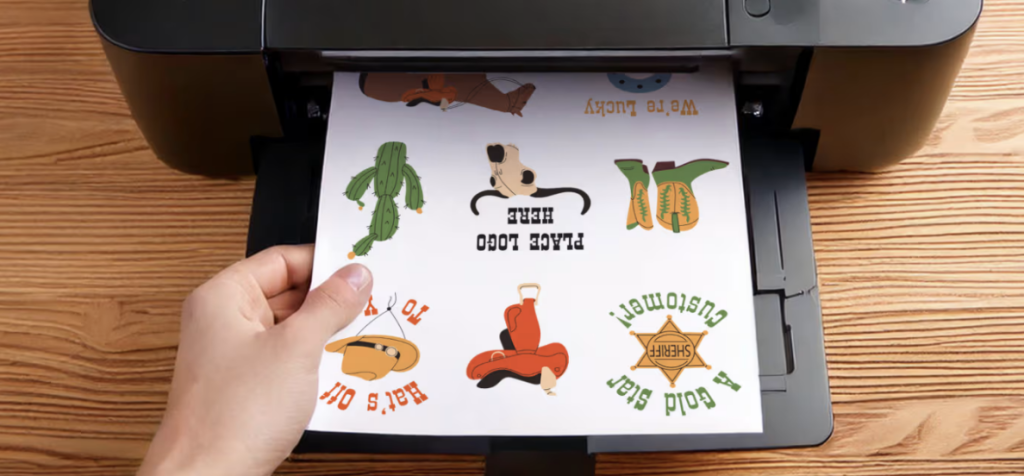
Glossy photo paper, in contrast, enhances vibrant colors but shows fingerprints more easily. Fine art paper offers museum-quality texture with a premium feel. For custom stickers specifically, use adhesive-backed sticker paper designed for your printer type.
Weight Matters: 200-300 GSM (grams per square meter) ensures quality, professional-looking prints.
Step-by-Step Home Printing Process
Follow these steps carefully for the best results:
1. Prepare Your File
- First, confirm resolution is 300 DPI minimum
- Additionally, convert to CMYK to preview colors (optional but recommended)
- Finally, save as high-quality PNG or TIFF
2. Set Up Your Printer
- Begin by installing correct printer drivers
- Next, clean print heads if needed
- Then, use highest quality print settings
- Moreover, select correct paper type in printer settings
This step is crucial because incorrect settings cause most home printing problems.
3. Print a Test
- Initially, always print one test on regular paper first
- Afterward, check colors, sizing, and alignment
- Subsequently, adjust if necessary before using expensive paper
Testing saves money and prevents frustration.
4. Final Print
- Start by loading premium paper (check orientation!)
- Then, select “Best” or “Highest Quality” setting
- Importantly, wait for ink to fully dry (5-10 minutes)
- Finally, handle by edges to avoid fingerprints
5. Protect Your Print
- Optionally, spray with fixative or sealant
- Alternatively, frame behind glass for UV protection
- Otherwise, store flat in archival sleeves if not displaying immediately
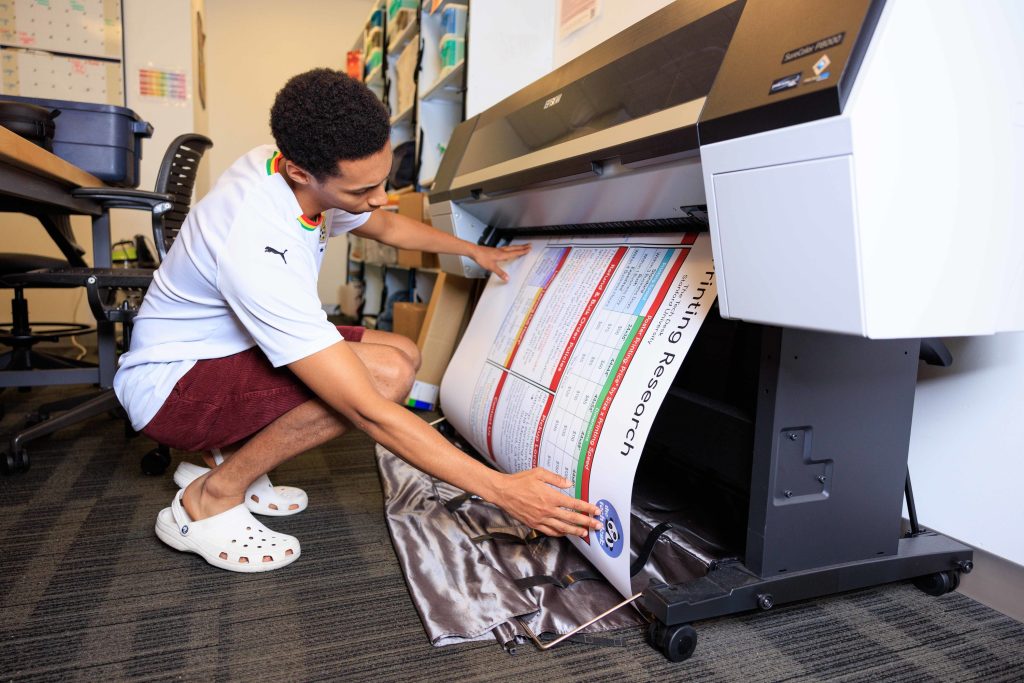
Using Professional Printing Services

Professional services deliver superior quality for important projects, large prints, or products you plan to sell.
When to Use Professional Printing
Consider professional services for:
- Large format prints (bigger than 13″×19″)
- Gallery-quality art prints
- Products for selling (consistent quality matters)
- Specialized materials (metal, canvas, wood)
- Bulk orders (cost-effective at scale)
Professional printing makes sense when quality and consistency matter most.
Popular Print Services
For Art Prints: Printful offers print-on-demand services that integrate seamlessly with online stores. Nations Photo Lab provides professional quality favored by photographers. Mpix delivers consumer-friendly excellence at reasonable prices.
For Stickers and Products: Sticker Mule specializes in premium stickers with fast turnaround times. StickerApp offers custom shapes and finishes for unique designs. Vograce provides specialty finishes like holographic and glitter effects.
For Canvas and Specialty: CanvasPop handles canvas prints and professional framing. Fracture creates unique prints on glass. Redbubble and Society6 offer print-on-demand for various products. Many artists combine digital art with physical products to create income streams.
Our comprehensive guide on how to sell digital art covers pricing, platforms, and marketing strategies for turning prints into profit.
How to Prepare Files for Print Services

1. Read Their Requirements: Every service has specific requirements for file format, resolution, color mode, and bleed. Always check before uploading to avoid rejections and delays.
2. Add Bleed If Required: Bleed is extra image area beyond the cut line (usually 0.125″). This prevents white edges if cutting isn’t perfectly aligned.
3. Use Safe Zones: Keep important elements (text, faces) at least 0.25″ from edges. Printers can’t guarantee precision at edges.
4. Submit in Correct Format: Most services prefer PNG, TIFF, or PDF. Follow their specifications exactly to ensure proper processing.
5. Order a Proof First: For important projects or first-time services, order one test print before bulk ordering. This catches potential issues early.
Common Printing Problems and Solutions
Even experienced artists encounter these issues. Here’s how to fix them:
Problem: Colors Look Different When Printed
Causes:
- RGB to CMYK conversion shifts colors
- Monitor not calibrated
- Different paper affects color appearance
Solutions: Convert to CMYK before printing to preview shifts. Calibrate your monitor regularly for accuracy. Additionally, order test prints and adjust digital colors accordingly.
Problem: Print Looks Pixelated or Blurry
Causes:
- Resolution too low (below 300 DPI)
- Scaled up too much from original size
- Low-quality JPEG with compression artifacts
Solutions: Always create art at 300 DPI minimum. Never scale up more than 10-20% from original size. Furthermore, use PNG or TIFF instead of JPEG for crisp results.
Problem: Prints Are Too Dark or Too Light
Causes:
- Monitor brightness not calibrated
- Printer settings incorrect
- Ink levels low
Solutions: Calibrate monitor to standard brightness levels. Adjust printer brightness and contrast settings appropriately. Replace ink cartridges when levels drop below 20%.
Tips for Better Print Quality Every Time

Create High-Resolution from the Start– Set your canvas to 300 DPI when beginning projects. Fixing resolution later is impossible without quality loss.
Use Quality Materials– Premium paper, fresh ink, and proper printer maintenance make enormous differences in final results. Don’t skimp on materials if you want professional quality.
Test Print First– One test on cheap paper catches mistakes before wasting expensive materials. This simple step saves money and frustration.
Handle Prints Carefully– Wait for complete drying, handle by edges, and store properly to prevent damage. Rushed handling ruins otherwise perfect prints.
Understanding how to properly set up your digital artwork from the beginning makes printing much easier.
If you’re creating art on an iPad specifically, our guide to digital art apps for iPad covers iPad-specific tips for export settings and file management.
Ready to Bring Your Digital Art to Life?

Learning how to print digital art opens new creative possibilities and income opportunities.
Whether you’re printing personal artwork to hang on your walls or creating products to sell, understanding resolution, color modes, and proper techniques ensures beautiful results every time.
Here’s Your Action Plan:
- Review your digital files – Ensure they’re 300 DPI and saved in the right format
- Choose your printing method – Home printing or professional service
- Order a test print – Always test before committing to large orders
- Start small – Print one piece to perfect your process
Need inspiration? Browse our shop for examples of printed digital art products.
Your artwork deserves to exist beyond the screen. Start printing today.