Digital art is everywhere today. You see it on Instagram, in video games, animated movies, posters, stickers, merch, pretty much anywhere creativity lives. If you’re new to it all, it helps to first understand the basics of what digital art is and why it’s so popular before jumping in.
The good news is that you can learn how to make digital art, even if you’ve never drawn before. In this guide, we keep things simple and beginner-friendly. You’ll learn what tools you need, how to start your first drawing, and easy tips to help you improve as you go. By the end, you’ll feel ready and confident creating your own digital artwork.
The Reality of Learning Digital Art
Let’s be honest about what to expect:
It Feels Weird at First– Drawing on a screen feels different from paper. Your hand-eye coordination needs adjustment. This is completely normal and temporary.
The Learning Curve Exists– You’re learning both art fundamentals AND technical software skills simultaneously. Give yourself grace.
Progress Isn’t Linear– Some days you’ll create something amazing. Other days everything looks terrible. Both are part of the process.
It Takes Time– Becoming “good” takes months or years, not days. But enjoyment starts immediately.
What You Need to Make Digital Art
Before starting your first drawing, you need three main things: a device, a stylus, and an art app. That’s it!
1. Choose Your Device
You don’t need expensive equipment. A simple device works great.
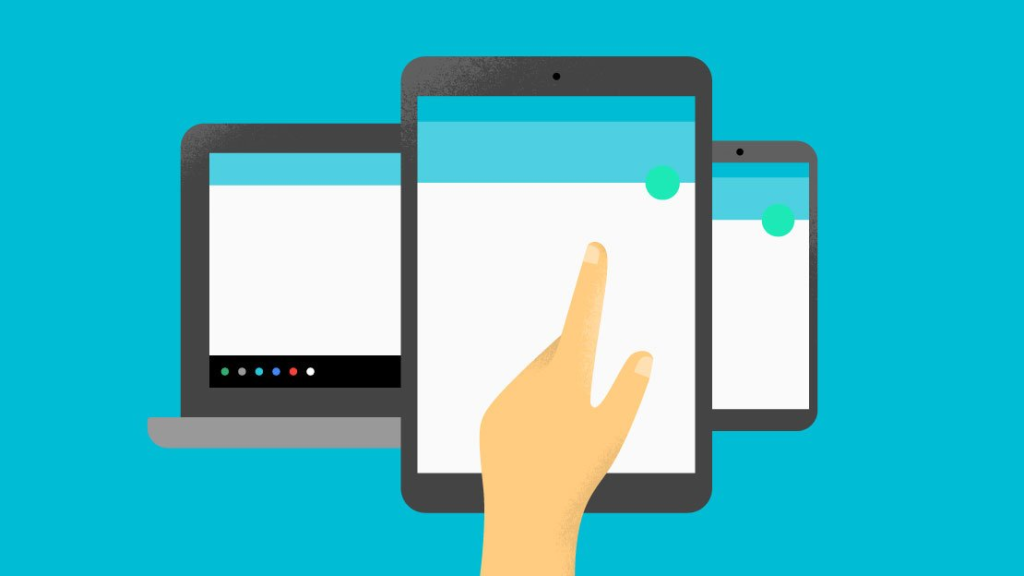
Tablet (Most Popular)
- iPad
- Samsung Galaxy Tab
- Wacom One or Wacom Cintiq
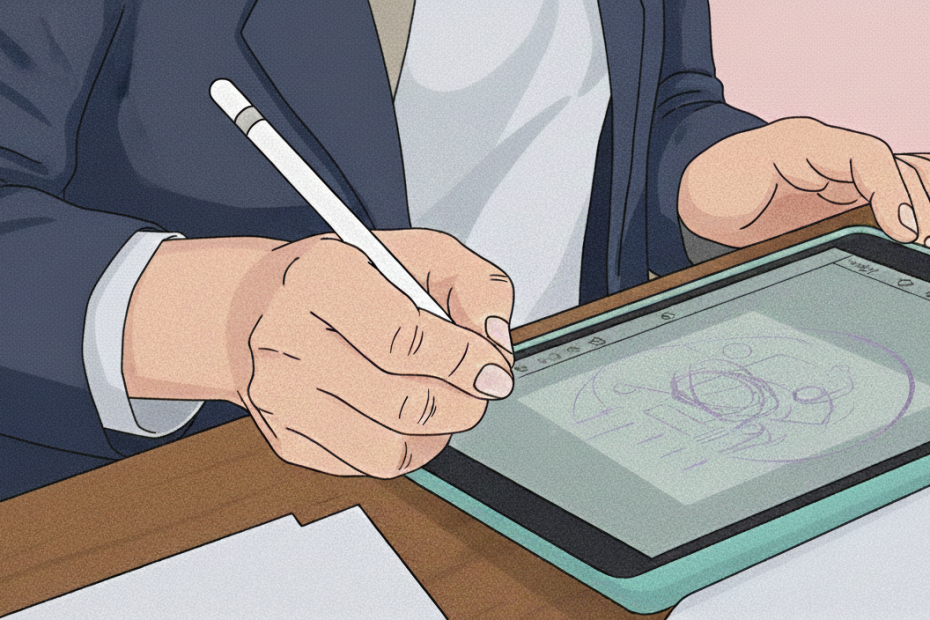
Tablets feel most natural because you draw directly on the screen.
Computer or Laptop– A drawing tablet plugs into your computer so you can draw digitally using apps like Krita or Photoshop.
Smartphone– Surprisingly, many beginners start using apps like Ibis Paint X on their phones.
Tip: Use what you already have. You can upgrade later.
2. Pick a Stylus (Digital Pen)
You don’t have to use a stylus, your finger works, but a stylus gives much better control.
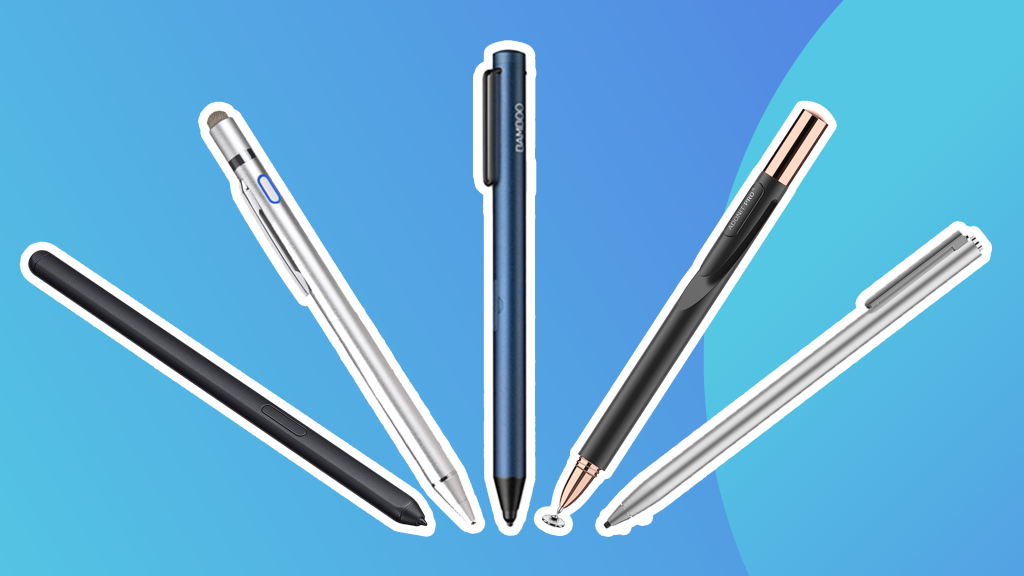
Popular options:
- Apple Pencil (iPad)
- Samsung S Pen
- Wacom stylus
- Logitech Crayon (budget option)
If you’re on a tight budget, start with a basic stylus or even your finger. What matters most is practicing.
3. Download a Digital Art App

Here are the best apps for beginners:
Procreate (Paid, iPad)– One of the most popular apps. Easy to use and powerful.
Ibis Paint X (Free + Paid upgrades, phone/tablet)– Great for anime, cartoons, and stylized art.
Krita (Free, computer)– Professional-level software with no cost. Amazing for painting.
Adobe Fresco (Free + Paid, tablet/computer)– Great for realistic-looking brushes.
Clip Studio Paint (Paid, computer/tablet)– Excellent for comics, line art, and detailed illustrations.
Choose whichever app fits your device and budget. Check out our recommended apps for beginners “Best Digital Art Apps“.
How to Make Digital Art (Step-by-Step)
Now let’s walk through the process of making your first digital artwork.
Step 1: Create a New Canvas

Open your app and start a new canvas.
For beginners, use these settings:
- Size: 2000-3000 pixels
- Resolution: 300 DPI if you ever want to print
- Layers: Start with at least 3-5 layers
Layers are your best friend. Every part of your art goes on its own layer so you can edit without ruining anything.
Step 2: Start With a Simple Sketch

Use a light pencil brush and sketch your idea. This is your rough outline, don’t worry about perfection.
Tips for sketching:
- Focus on simple shapes first
- Sketch lightly
- Keep your lines loose
- Don’t worry about details yet
Your sketch is just the “blueprint” for your final artwork.
Step 3: Add Cleaner Line Art (Optional)
Some digital art uses line art, and some doesn’t. If your style includes lines:
- Create a new layer above your sketch
- Use a clean brush
- Trace slowly and confidently
- Zoom in for details
- Zoom out to check proportions
Line art can take practice, so don’t stress if it feels tricky at first.
Step 4: Add Base Colors

On a new layer under your line art, start filling in your colors.
Helpful tips:
- Use a large brush for big areas
- Try out different palettes
- Keep colors simple at first
This step is like coloring a coloring book.
Step 5: Add Shadows and Highlights

Lighting brings your digital art to life.
How to do it:
- Pick a light source (left, right, above, etc.)
- Use a darker shade for shadows
- Use a lighter color for highlights
- Blend using soft brushes
Step 6: Add Textures and Details

Textures make your art feel real and interesting.
Examples:
- Hair strands
- Clothing folds
- Skin texture
- Wood grain
- Fur
- Metal shine
Not everything needs detail, focus on the important parts.
Step 7: Add Effects (Optional but Fun)


Digital art lets you add effects easily:
- Glows
- Gradients
- Sparkles
- Shadows
- Color overlays
Play around and see what you like. Digital art is full of experimentation.
Step 8: Final Touches and Clean-Up
Before you finish your art:
- Fix stray pixels
- Tidy up lines
- Adjust colors
- Balance the lighting
- Add a background if you want
- Sign your artwork!
A few minutes of polishing makes a huge difference.
Step 9: Save and Export
Always save your layered file (PSD, Procreate, or Krita file) so you can edit later.
Then export as:
- PNG (best quality)
- JPEG (for posting online)
Now you’re ready to share your digital art!
Tips for Beginners Learning Digital Art
Here are some easy tips to help you improve faster:

Digital art is a journey, not a race. Follow our Instagram @kickersketch community for beginner spotlights.
Common Mistakes Beginners Make

Every artist improves with time!
Dealing with Creative Block
Every artist hits walls. Here’s how to push through:

Struggling with inspiration? Join our email list for weekly creative prompts fill out Get In Touch form.
Your Turn!
Digital art is one of the most fun, flexible, and beginner-friendly ways to create. Your first drawings don’t have to be perfect, every artist begins somewhere. With each sketch, you’ll see progress.
Now open that app and start creating. Tag us on Instagram on your first creation @kickersketch we would love to see your artwork.