Ever see a cute sticker on someone’s laptop or water bottle and think, “I could make that”? You absolutely can. Learning how to make your own stickers is fun, beginner-friendly, and surprisingly affordable. You don’t need expensive machines or professional equipment to get started.
In this guide, you’ll learn how to make your own stickers step by step. Whether you want stickers for personal use or you’re thinking about selling them, this tutorial walks you through the entire process from design to finished sticker.
How to Make Your Own Stickers (Quick Overview)
If you want the short version, here’s the basic process:
- Design your sticker
- Save your file as a high-resolution PNG (300 DPI)
- Print on sticker paper at home or professionally
- Cut your stickers by hand or with a machine
- Seal your stickers (optional)
- Use, gift, or sell your stickers
Now let’s break down how to make your own stickers step by step, even if you’re a total beginner.
Materials You’ll Need to Make Your Own Stickers

Before you start, gather these basics:
- Design software (Procreate, Canva, Photoshop) or pen and paper
- Printer (inkjet works best for most sticker paper)
- Sticker paper (matte, glossy, or vinyl)
- Scissors or a cutting machine (Cricut or Silhouette)
- Clear laminate sheets or spray sealant (optional)
That’s it, no fancy equipment required.
Step 1: Design Your Sticker
Every sticker starts with an idea. If you’re new to design, keep it simple. Many popular stickers are bold illustrations, short phrases, or relatable themes.
Design tips for beginners:
- Use simple shapes and bold lines
- Avoid tiny details
- Choose high-contrast colors
- Add a thick outline so your sticker stands out
You can design digitally using Procreate, Canva, or Photoshop. If you prefer traditional art, draw your design by hand and scan or photograph it. New to digital design? Check out our guide on the best digital art apps to get started.
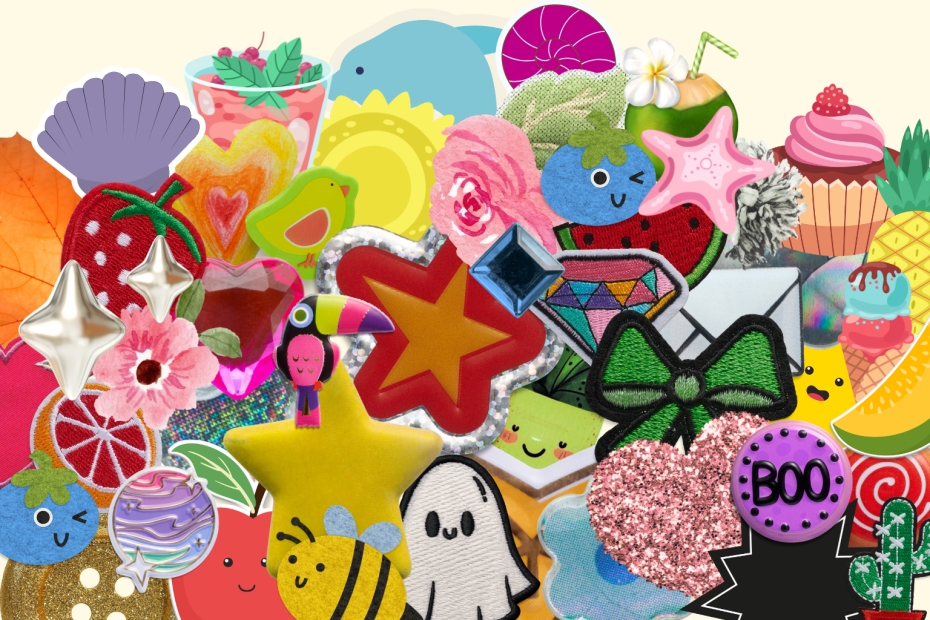
Step 2: Choose the Type of Sticker You Want to Make
There are several sticker styles to choose from:
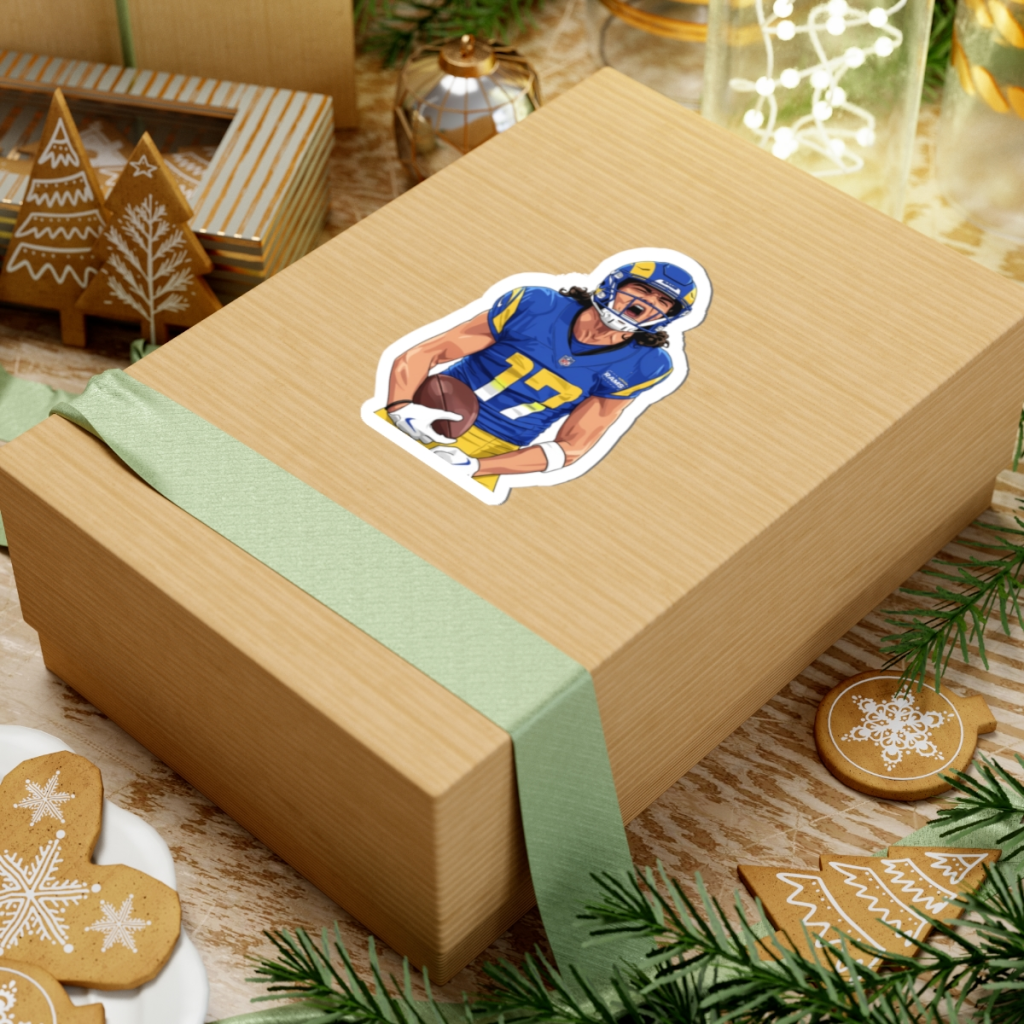
- Die-Cut Stickers – Cut exactly around your design
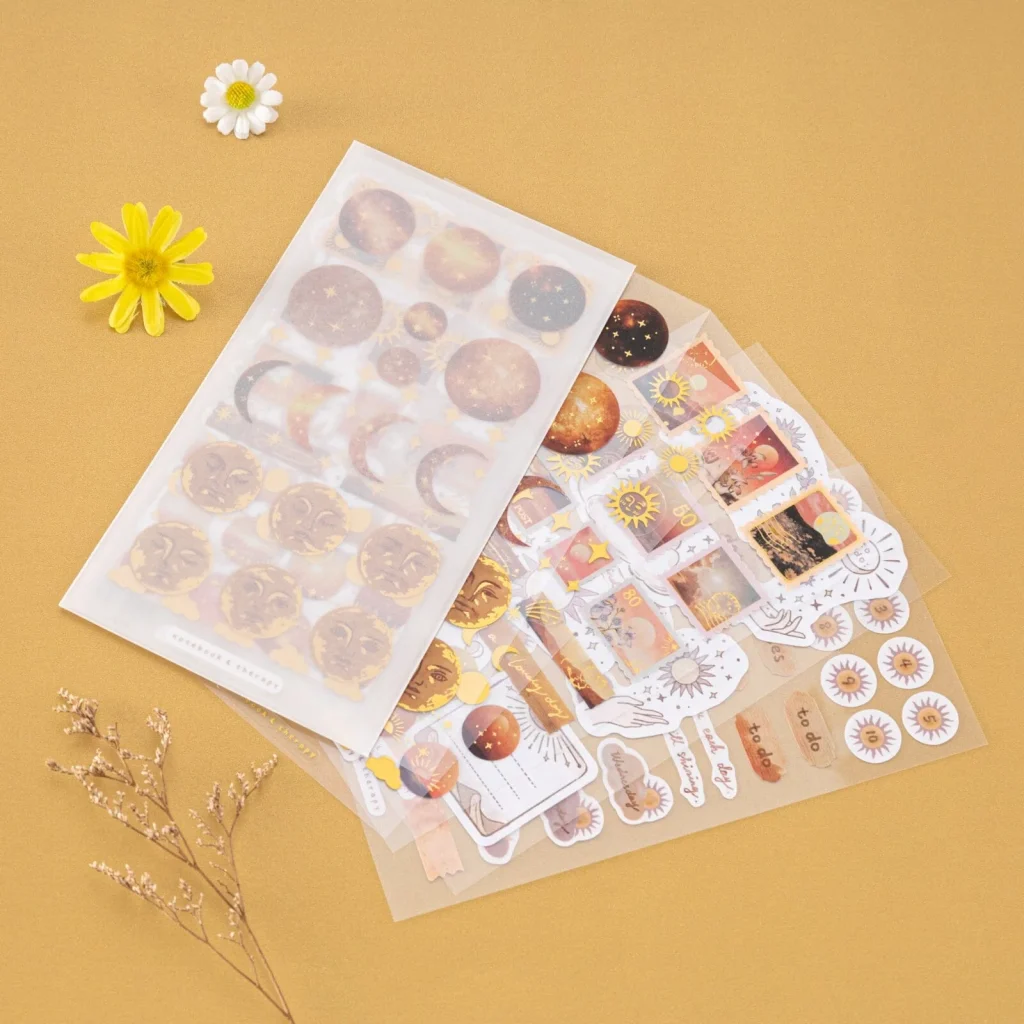
- Sticker Sheets – Multiple stickers on one sheet (great for planners)
- Kiss-Cut Stickers – Easy-peel stickers with backing intact
- Clear Stickers – Transparent background for a seamless look
If you’re just starting out, die-cut stickers or sticker sheets are the easiest options.
Step 3: Prepare Your Sticker File for Printing

Setting up your file correctly makes a huge difference in print quality.
Sticker file checklist:
- File type: PNG
- Resolution: 300 DPI
- Background: Transparent
- Canvas size: 8.5 × 11 inches
- Add a small white border (bleed)
For hand-drawn designs, scan or photograph your artwork in good lighting, then clean it up in Canva or another editing tool.
Step 4: Print Your Stickers
You have two main ways to print stickers.
Option 1: Print Stickers at Home
Printing at home is perfect for beginners and small batches.
You’ll need:
- Inkjet printer
- Sticker paper (matte, glossy, or vinyl)
Pros:
- Instant results
- Lower cost for small quantities
- Full creative control
Cons:
- Colors may differ slightly from your screen
- Less durable without sealing
Always print a test sheet first.
Option 2: Use a Professional Sticker Printing Service
Professional services like Sticker Mule, or Vistaprint, handle printing and cutting for you.
Pros:
- High-quality, durable stickers
- Waterproof and weather-resistant
- Perfect for selling
Cons:
- Higher upfront cost
- Minimum order quantities
Step 5: Cut Your Stickers

Once printed, it’s time to cut.
- Hand cutting: Scissors or an X-Acto knife
- Cutting machines: Cricut or Silhouette for precision
Leave a small white border around your design for the cleanest result.
Step 6: Seal and Protect Your Stickers (Optional)
Sealing helps your stickers last longer.
- Clear laminate sheets are beginner-friendly
- Spray sealants work well when applied in light coats
Vinyl sticker paper may not need sealing for indoor use.
Step 7: Use, Gift, or Sell Your Stickers
Your stickers are finished, now enjoy them!
- Decorate laptops, notebooks, and water bottles
- Gift them to friends
- Sell them on Etsy, Shopify, or at craft fairs
If you’re interested in selling, check out our guide on how to sell digital art and stickers online.
Frequently Asked Questions
Can I make stickers at home without a Cricut?
Yes. Scissors or an X-Acto knife work perfectly for beginners.
What is the best paper for homemade stickers?
Vinyl sticker paper is the most durable. Matte paper is great for planners.
Are DIY stickers waterproof?
They can be if you use vinyl paper or add a laminate layer.
How much does it cost to make your own stickers?
Most beginners can start for under $50.
Can I sell stickers I make at home?
Yes, as long as the designs are your original work.
Ready to start?
Learning how to make your own stickers is one of the most satisfying creative projects you can try. Start simple, experiment often, and don’t stress about perfection, your first sticker just needs to exist.
Want more creative tutorials? Explore our guides on what is digital art and how to shade digital art to keep leveling up your skills.